What does your posture say about you? When you are feeling confident about yourself, you tend to hold your head a little higher, pull your shoulders back and have a little pep in your step. On the contrary, when you are feeling low, or the view of how you see yourself is negative, then you may tend to drop your head, round your shoulders, and slump into a pit of self-pity. If you see forward slumped shoulders when you look in the mirror, this posture may even begin to cause you an increase in neck pain and shoulder stiffness resulting in tightness in your chest muscles and low back pain. Exercises that can improve your posture and portray a positive self-image of yourself are listed below:
Models: Kala Duncan; Lennox Wilson
Corner Stretch
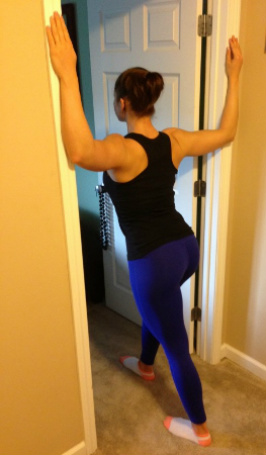 Step 1: Find a clear corner in your home, office, both preferable especially if you have a desk job. A door way can be used if there are not free corners.
Step 2: Place your arms on the wall (or along the edge of the door frame on either side). Your elbows should be at shoulder level. Place hands flat against the wall.
Step 3: Step forward with one foot (it does not matter which one). Bend your knee as you begin to lean forward with your body towards the corner.
Step 4: Keep your head up looking straight, keep your chest up and your hips straight. This ensures that your spine stays straight and the muscles are being stretched. Hold this position for 20 seconds to 1 minute. Do 2-3 repetitions 3-4 times a day.
Speed Squats
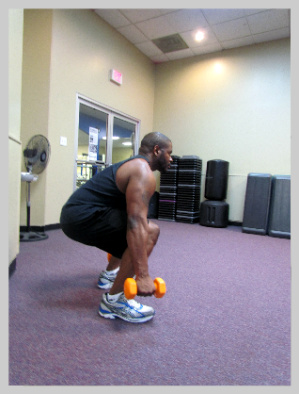 Step 1: Stand with feet shoulder width apart. Place hands in front of you or hold light dumbbells in each hand. Body weight should be balanced between the heel and ball of your feet, don’t fall forward or backward.
Step 2: Lower your bottom towards a seat. Thighs should be as close to parallel to the floor as you can make them. Knees should not go past your toes and fall in towards each other, but stay pointing to the wall in front of you with your butt going in the opposite direction.
Step 3: Once you have done 2 or 3 slow squats to ensure your form is correct pick up the pace. Down and upward movements should both be quick. Do 30-second intervals counting how many repetitions you can complete or see how quickly you can perform 15 to 20 repetitions. Remember the goal may be to perform the exercise quickly but don’t sacrifice good form for speed. Concentrate on both.
Seated Row
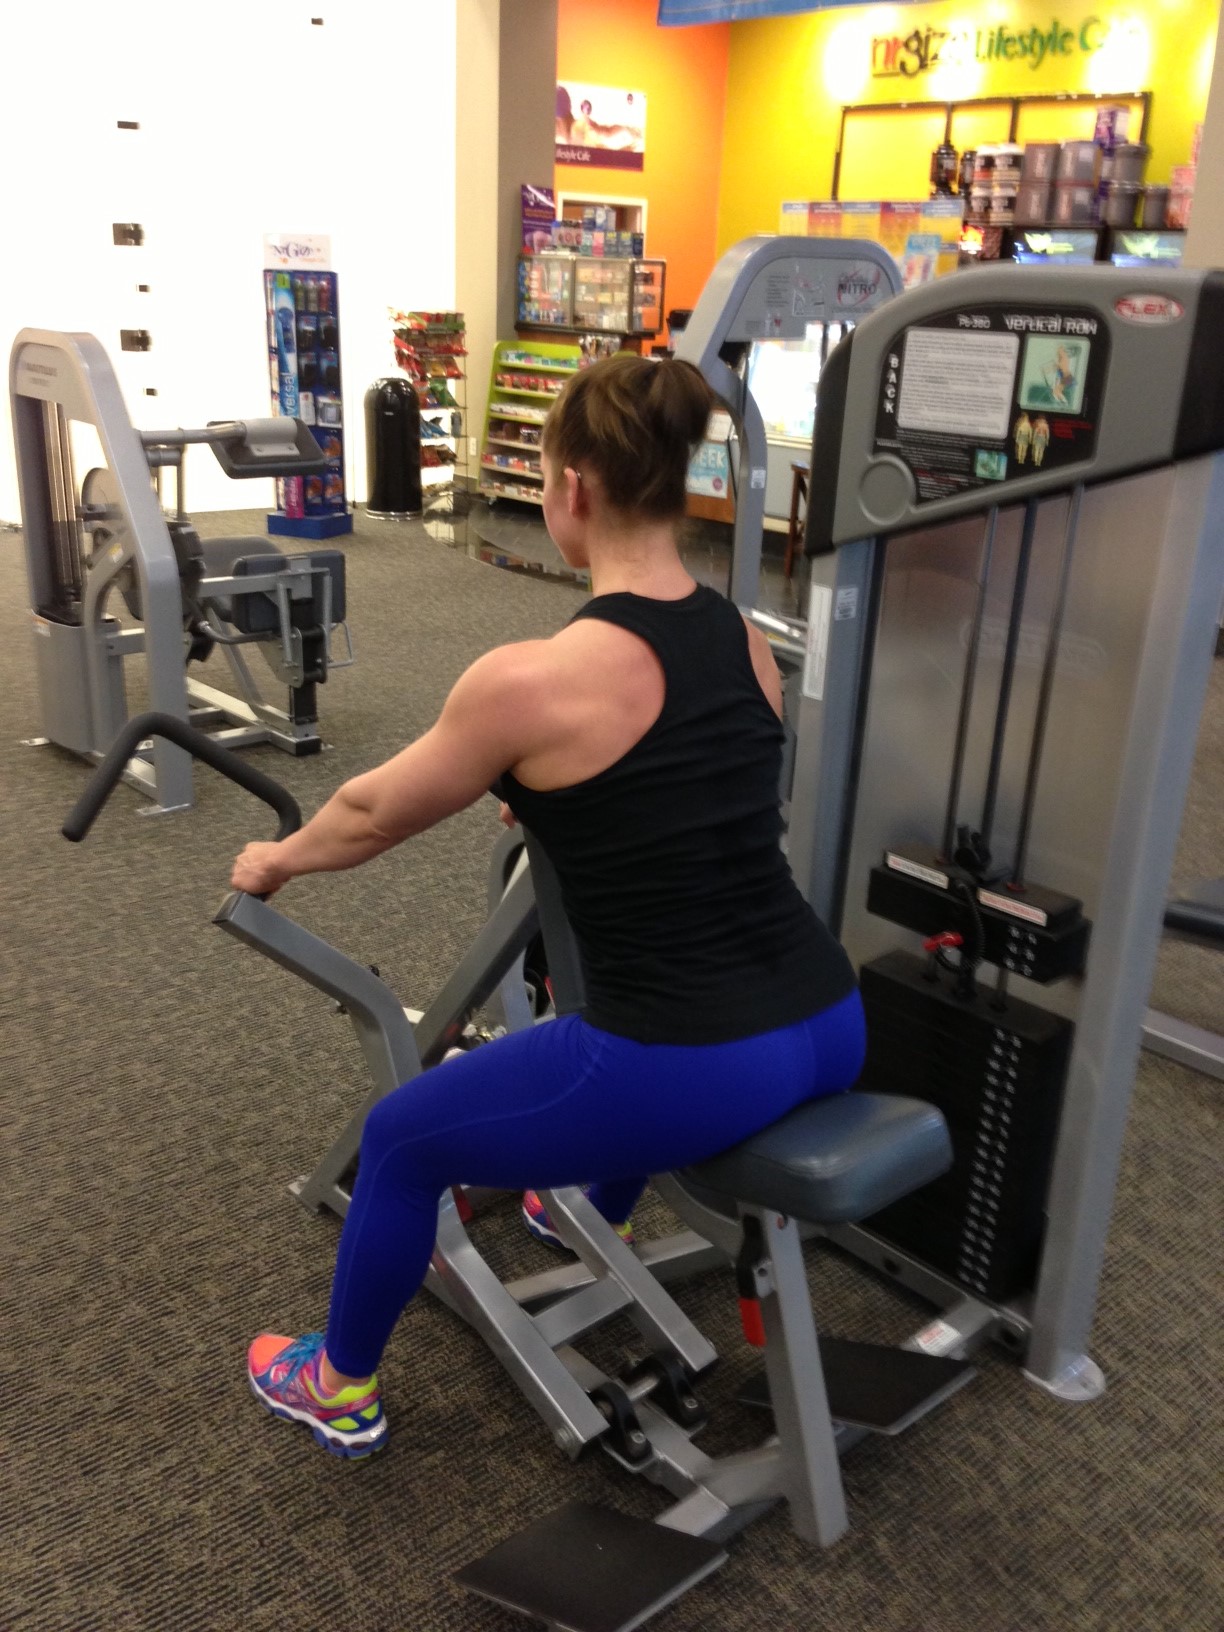
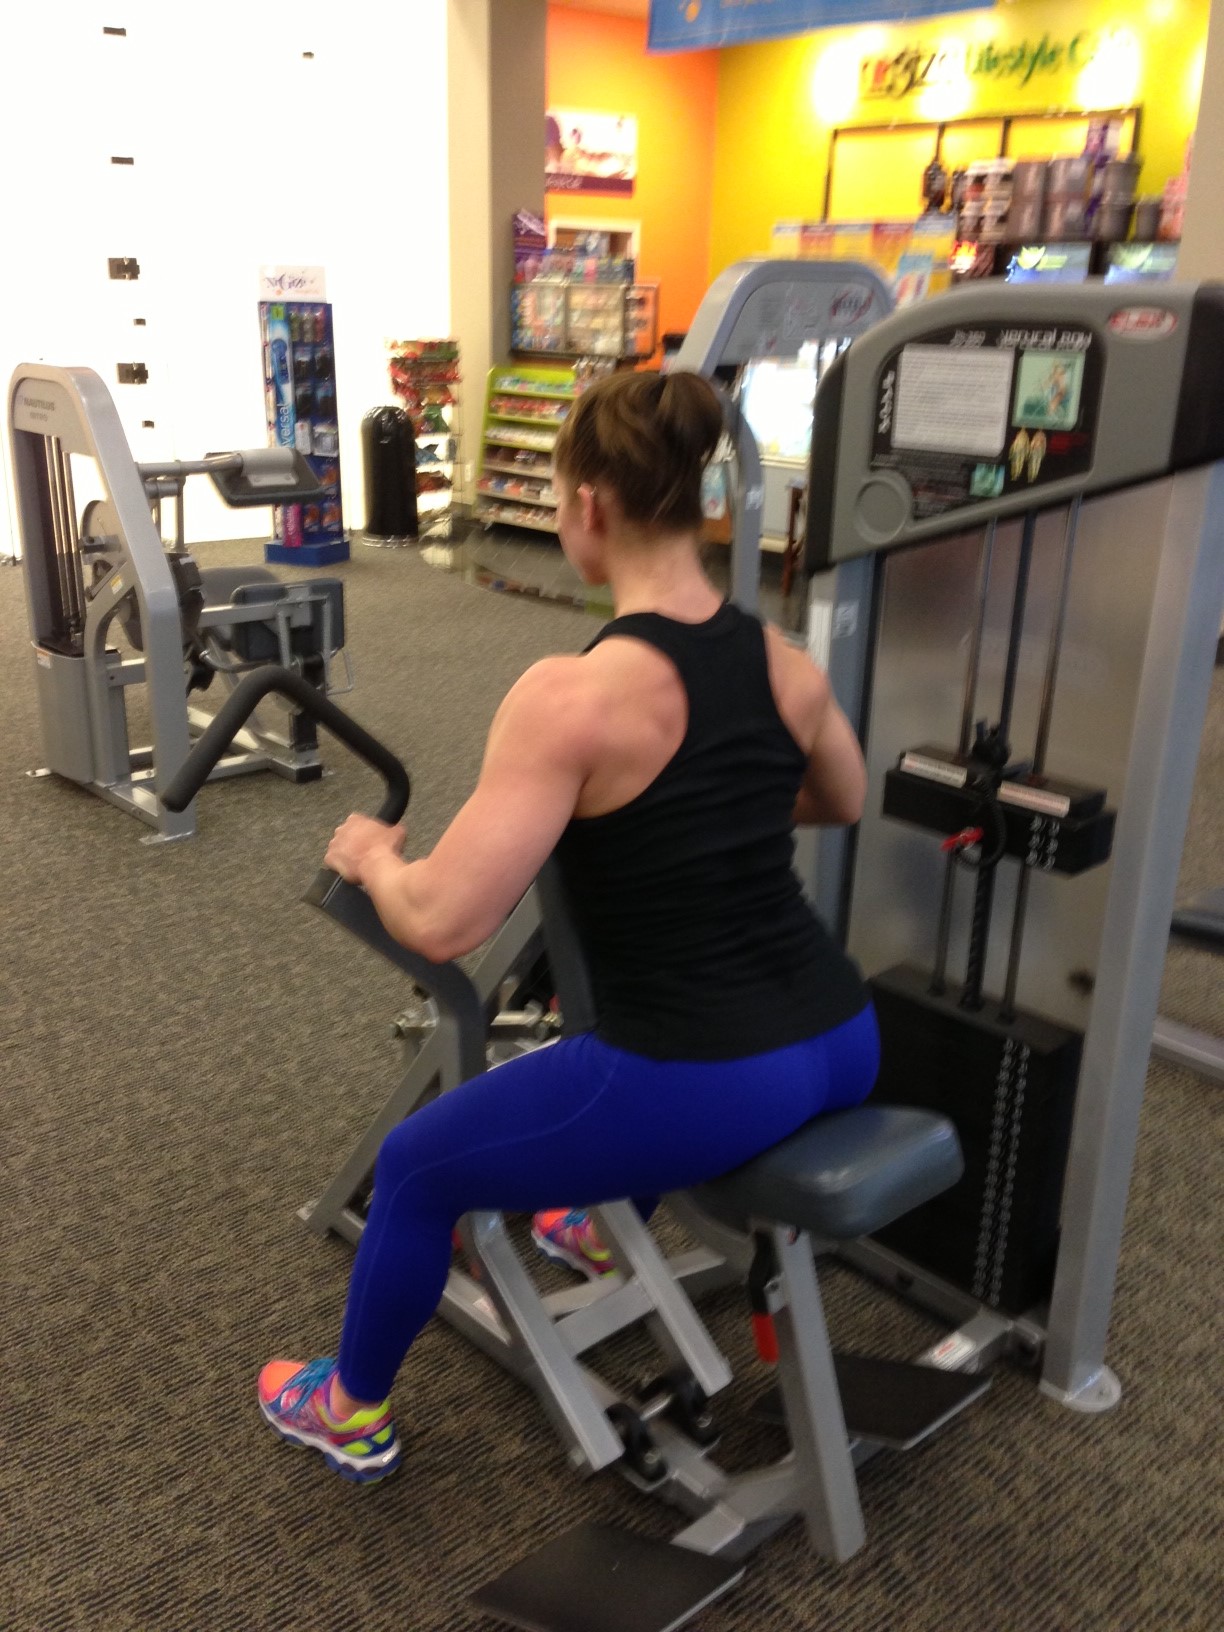
Step 1: Begin by sitting on the machine with your chest against the chest pad, feet flat on the floor.
Step 2: Reach forward to hold the handles with your arms straight. Pull your shoulders back and maintain a straight line between the back surface of your hand and your wrist.
Step 3: On the contraction of your back muscles keep your chest against the chest pad and pull back by bending the elbows until your hands are in front of your stomach. Your elbows should travel directly backward.
Step 4: Slowly return towards the starting position, stopping just before your elbows are almost straight. Repeat the move for 15 repetitions for 2-3 sets. If 15 repetitions are easy you will need to increase your resistance.
Pushups
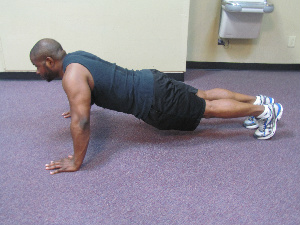
Step 1: Lie face down on the floor. Place your hands shoulder width apart and your toes on the ground with feet together.
Step 2: Contract your abs and push your body off of the floor, pushing through your hands and arms.
Step 3: Do not let your abdominals drag the floor. Your body should look like a plank, straight line, from your head to your feet.
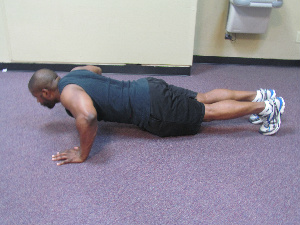
Step 4: Lower your body down towards the floor without laying on the floor to rest. If you are a beginner, set a goal of 10 reps and gradually work your way up to 100 or so a day.
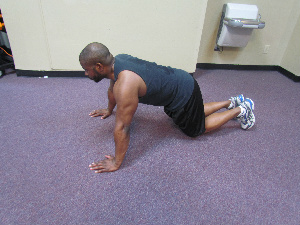
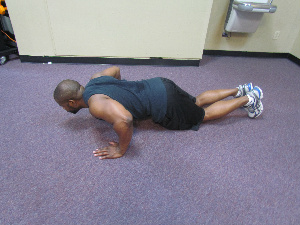
If you find it too hard you can bend your knees and push up from that position with your feet off the ground until you build up enough upper body strength to perform the standard pushup.
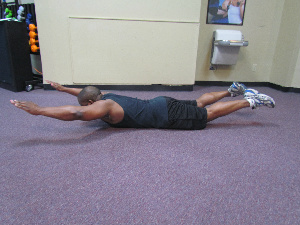
Superman

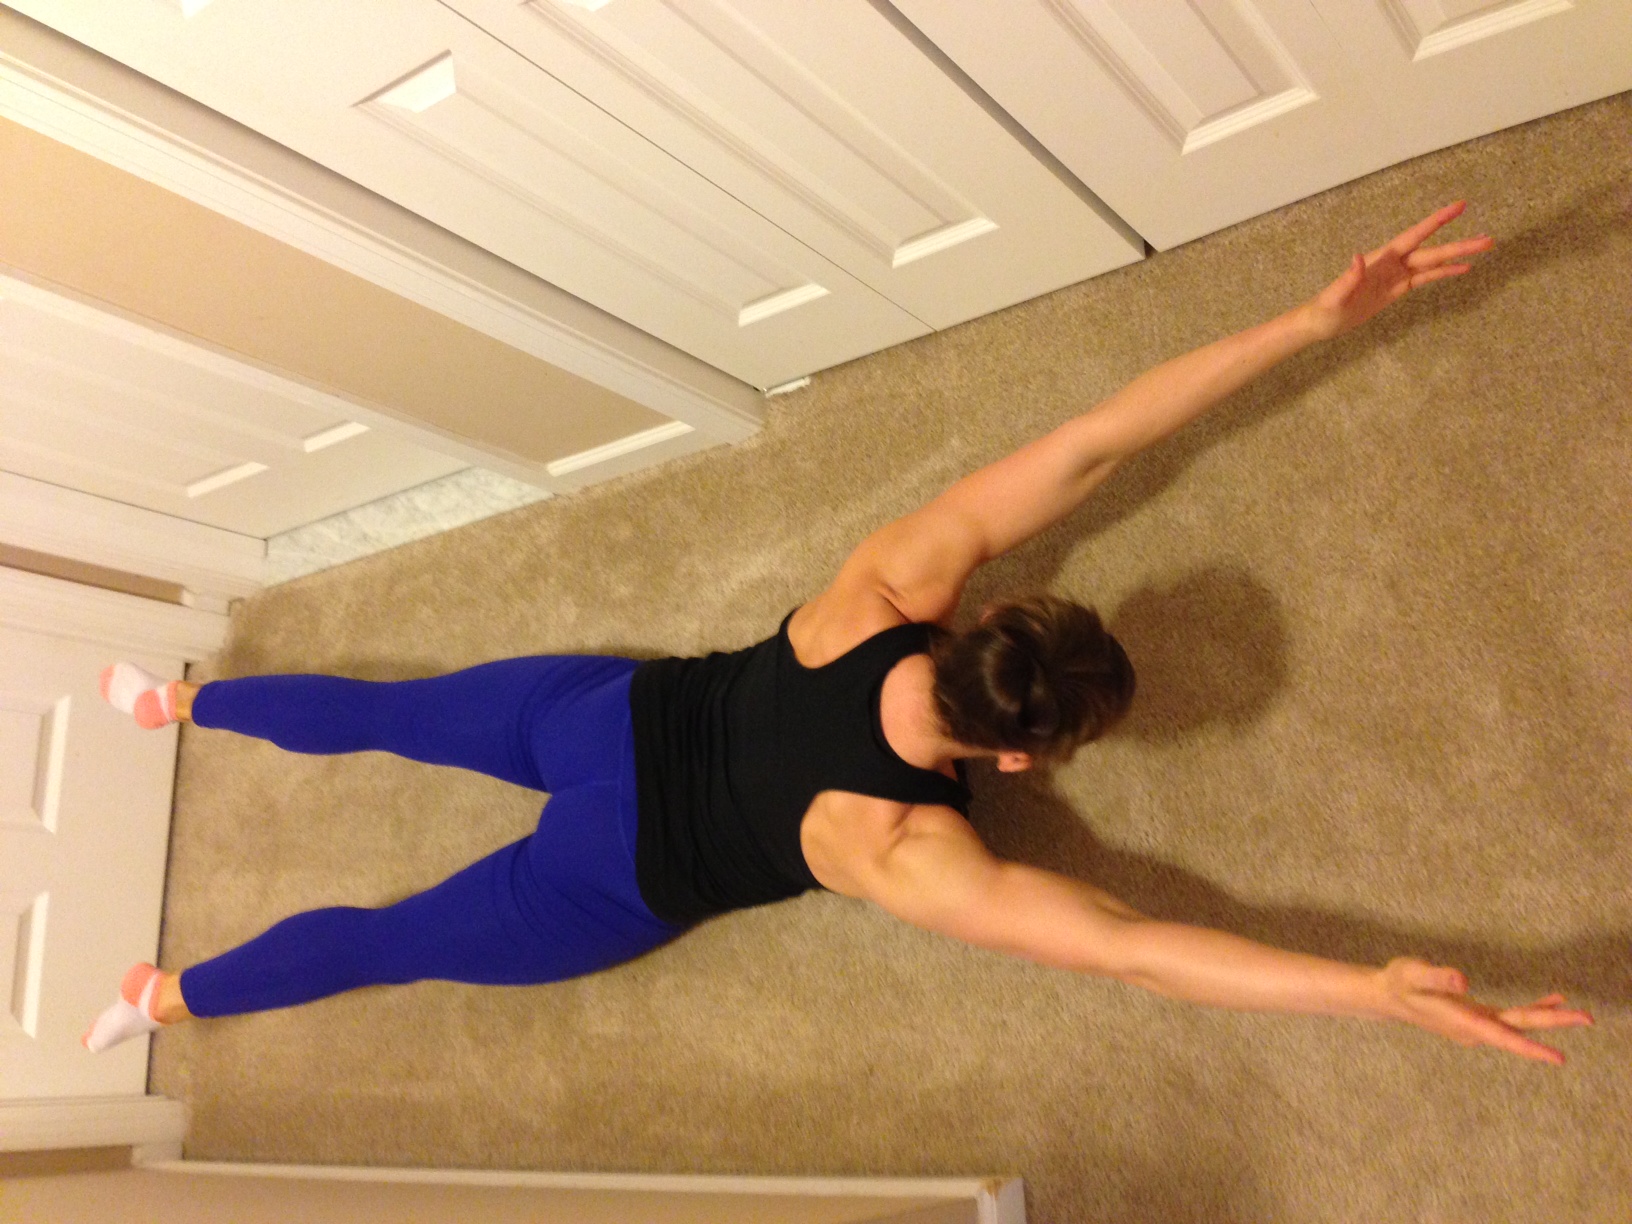
Step 1: Lying face down on the floor, keep your legs and feet together, your arms should be extended overhead palms down towards the ground.
Step 2: Lift your arms and legs a few inches off the ground. Keep your spine (back) in a neutral position.
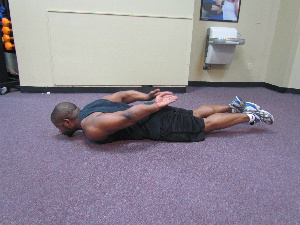
Step 3: Staying lifted up bring your arms down by your side towards your hips. Rotate your palms to facing the ceiling as they come toward your glutes (butt). Try to bring your hands together to touch over your lower back.
Step 4: Hold this position for about 2-3 seconds then reverse your arms back to the overhead position and rest your arms and legs on the ground.